

Anthony’s Vehicle Maintenance Guide
The official, expert-recommended vehicle care guide — crafted by professionals, created for enthusiasts.
Recommended Supplies:


Step 1: Prep your supples
Fix 3 buckets with water and add soap to one. We recommend using G Wash by Gtechniq. The buckets without soap in them will be your rinse buckets. Use a separate rinse for the wheels and the paint, ensuring you do not cross contaminate the two.
Step 2: Wash the wheels
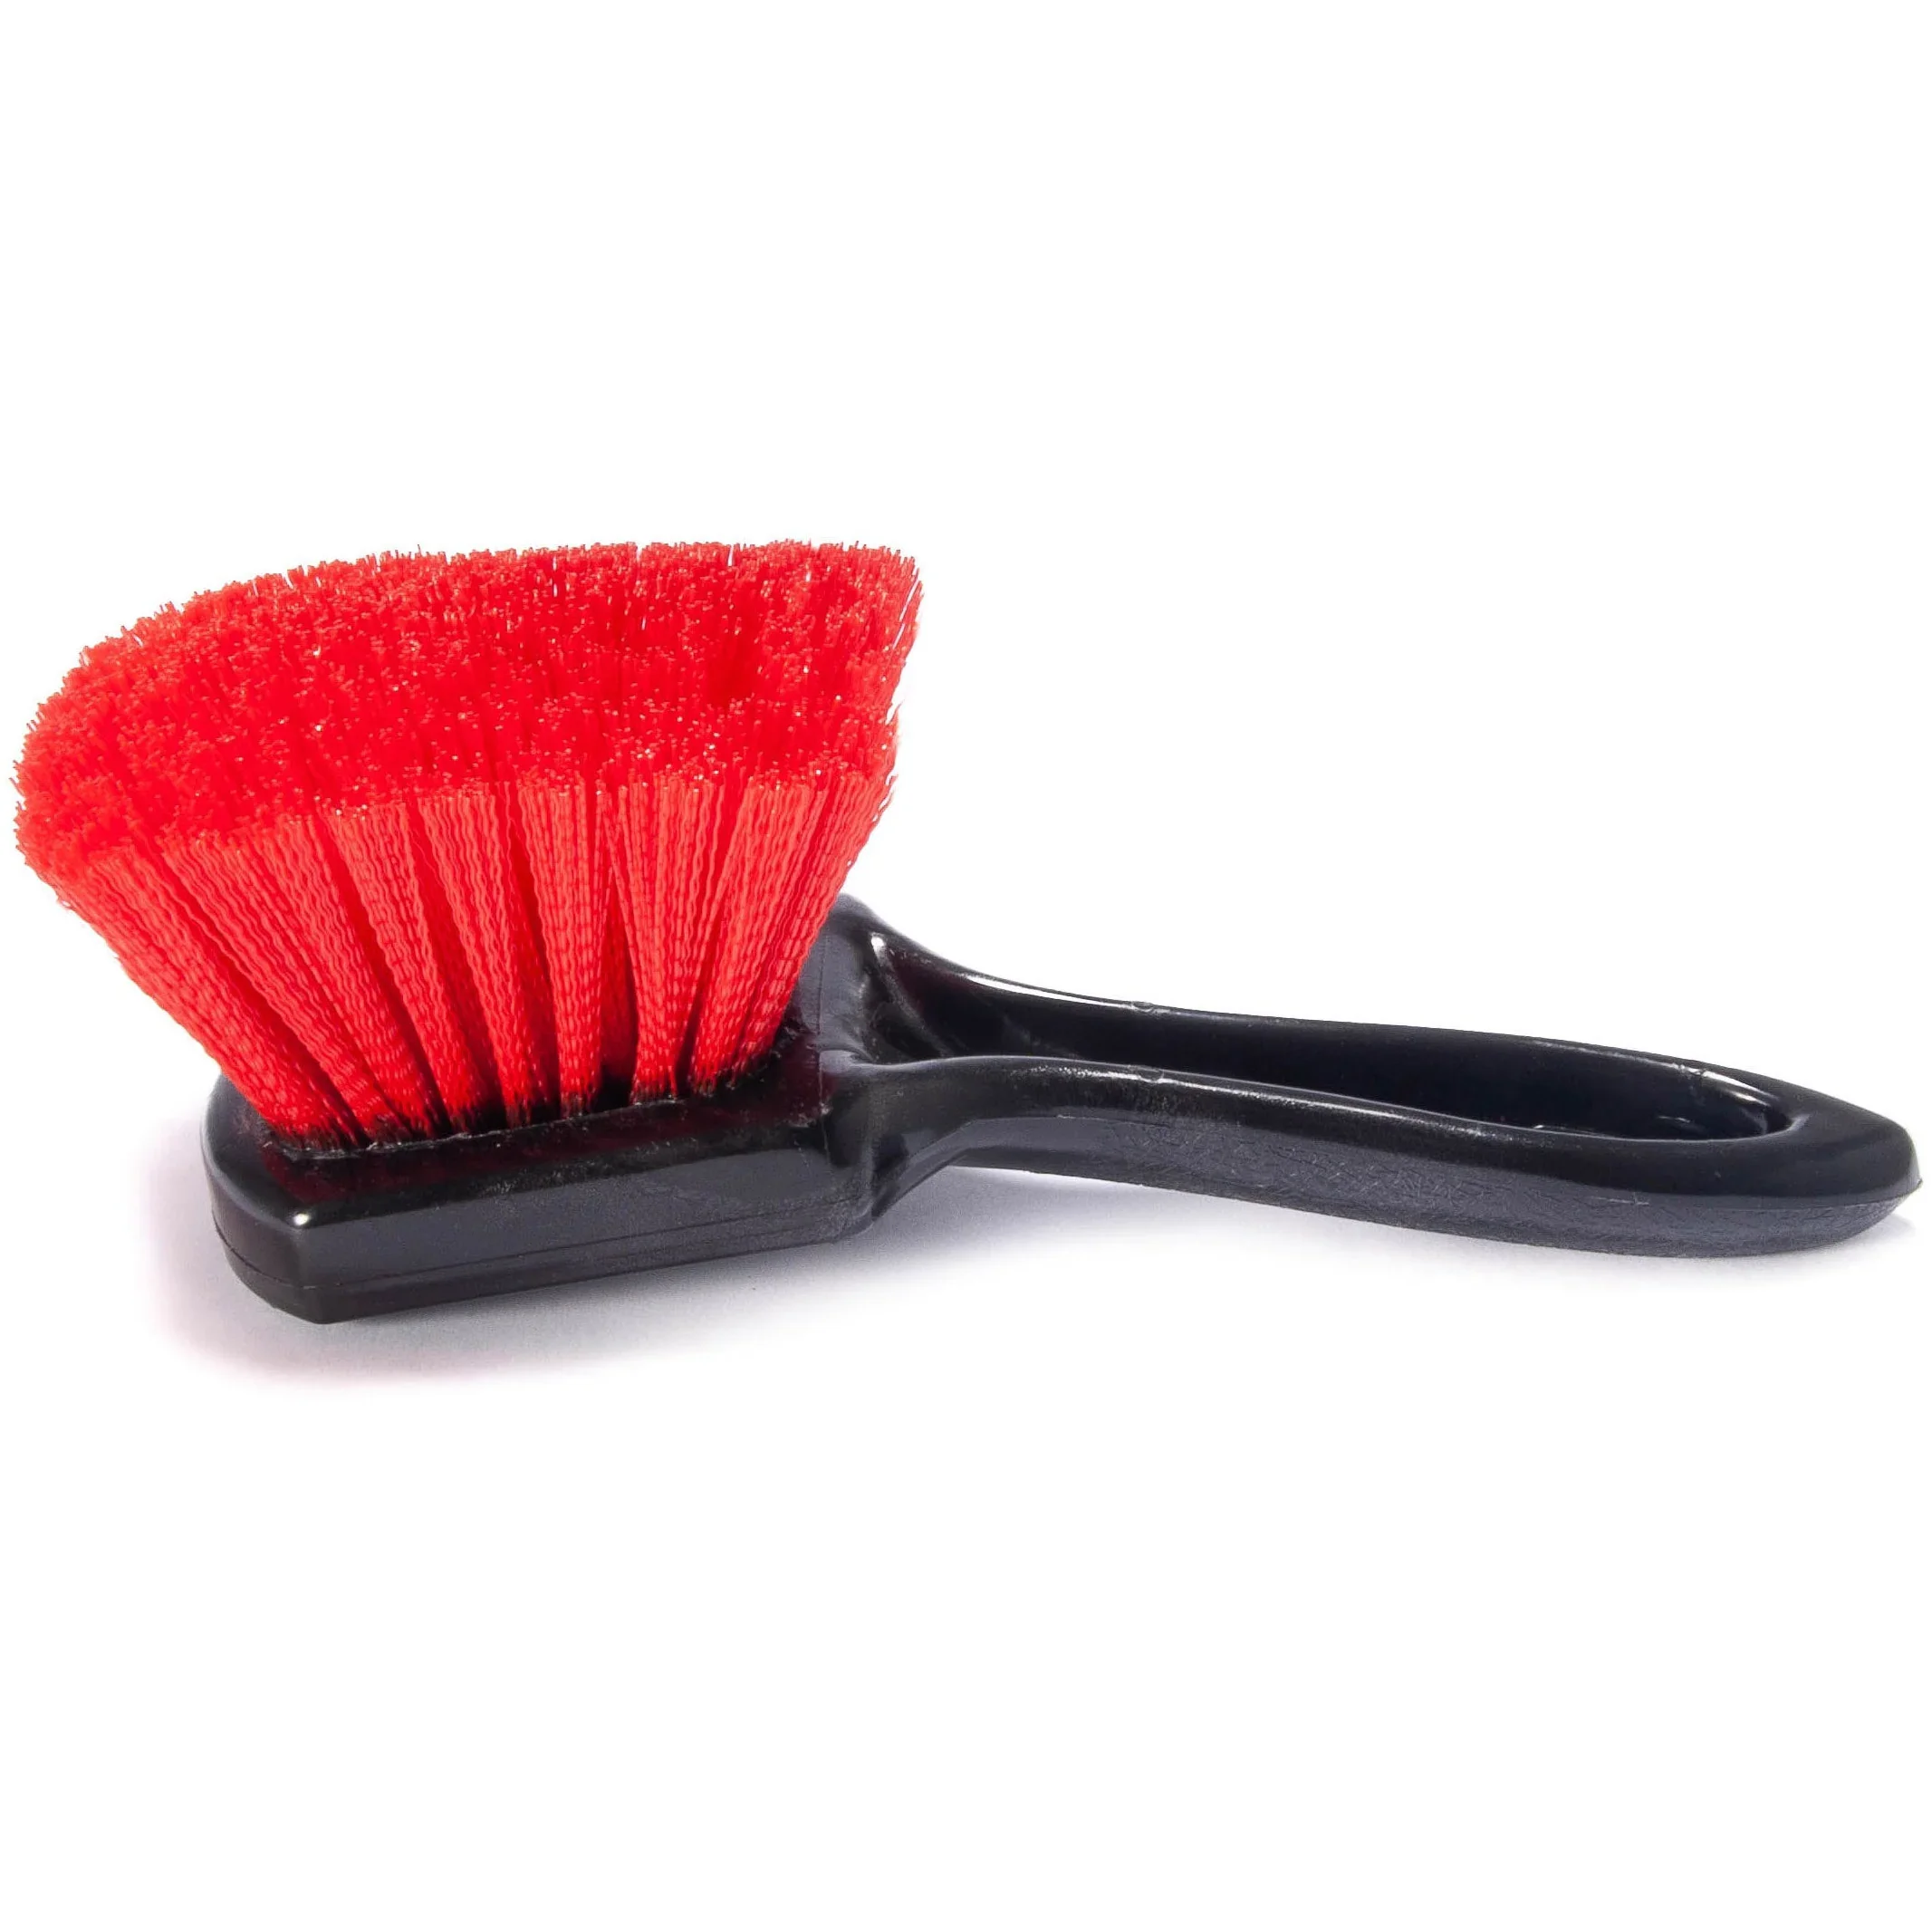
Your wheels take the brunt of road grime and brake dust. For best results, we use a barrel wheel brush, a soft bristle boar hair brush, and a tough nylon brush for tires.
Clean the wheels one at a time, and ensure they are cool to the touch before you begin. Rinse off the wheel with a hose and completely lubricate the surface with water. Start at the top of the wheel with your barrel wheel brush, working from top to bottom, one side at a time. Once you have cleaned the barrels, use your soft bristle brush to agitate the dirt around the lug nuts. Next, use your mitt to clean the face of your wheels and tires. If needed, use your nylon brush to scrub the tires. Once you have agitated all the dirt in and around the wheel, immediately rinse with water l to wash away contaminants before moving onto the next wheel.
PRO TIP: While you are washing the wheels, tackle the exhaust between wheels #2 and #3.
Step 3: Wash the paint
At the shop, we use a foam cannon to ensure consistent coverage of soap on the surface. If you don’t have a foam cannon, use the two-bucket method — one bucket for soapy water and one for rinsing your wash mitt between panels.
Before you begin, make sure your paint is cool to the touch, as heat from the sun can cause water spots. Start by rinsing the car with clean water to remove loose dirt, dust, and contaminants. Keep the pressure washer at least 3 feet away from the paint to prevent damage. Begin at the front and work your way around the vehicle, always rinsing from top to bottom.
Once you have completely lubricated the surface of your car with water, use your wash mitt to clean one panel of the car at a time. Wash contaminants off your mitt in your rinse bucket and get fresh soap on your mitt between every panel. Work from the top to the bottom in this order: Roof, windshield, hood, windows, doors, side panels, and front bumper. Do one side at a time, rinsing each side off before moving onto the next step.
If your front bumper is especially buggy, use bug remover.
Step 4: Dry the Vehicle
Use a drying tool, such as a Tornador or a leaf blower, to remove as much standing water as possible before touching the paint. Air drying tools help prevent water spots and reduce the risk of scratching by minimizing direct contact with the surface.
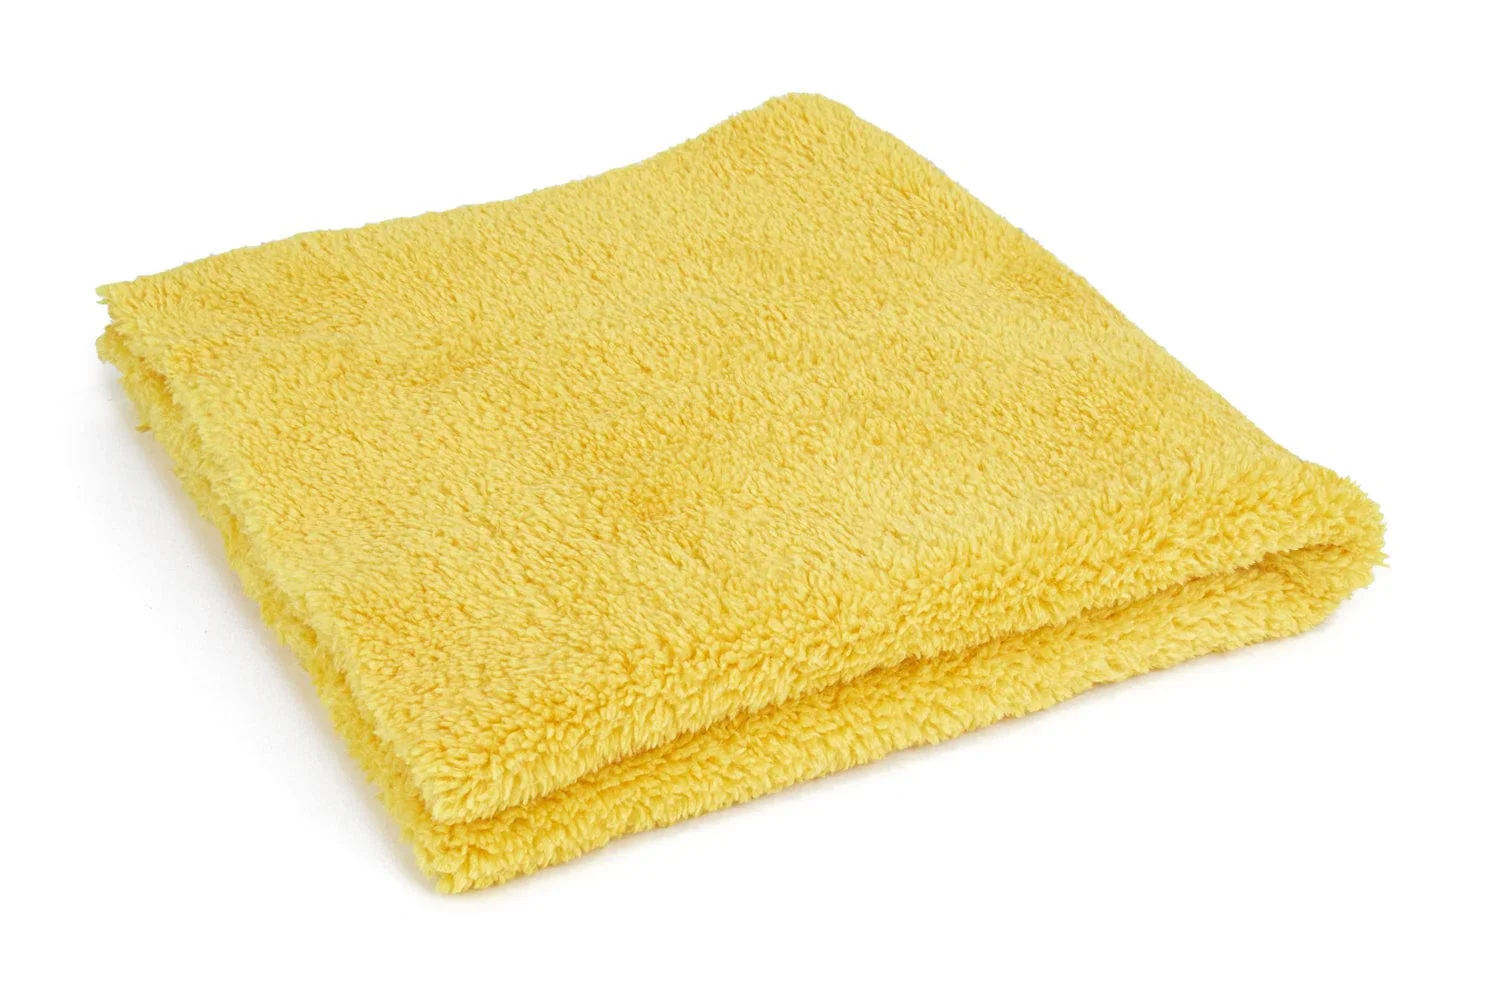
Once the majority of the water is gone, follow up with a clean, moist microfiber towel to remove any remaining moisture. Using a moist towel ensures the paint stays lubricated throughout the drying process. For extra protection, use quick detailer to keep paint lubricated. Wipe dry in long, straight motions across the panels.
At our shop, we use a microfiber Drying Towel for superior absorption and safe drying. Be sure to also dry door jambs, mirrors, fuel doors, and other crevices where water tends to collect. You’ll go over these surfaces again in Step 8.
Step 5: Apply Ceramic Protection
To finish, we use Gtechniq’s Ceramic Sealant — a quick, effective way to enhance gloss, slickness, and short-term protection while giving your vehicle a taste of a professional-grade ceramic coating.
Step 6: Dry the Wheels
Using a different towel than you used on the paint, moisten your microfiber and wipe the water off the surface. If desired, use Gtechniq’s Quick Detailer spray to act as a lubricant for the drying process.
Step 7: Dress the Tires and Trim
Use a Gtechniq’s T2 Tyre Dressing to ensure your tires stay lubricated during the drying process and gain an extra layer of UV protection.
Pro Tip: Apply with a foam or microfiber applicator pad for even coverage, and wipe off any excess to prevent sling onto the paint.
Step 8: Wipe down the doors and door jams.
Use a moist microfiber to wipe down the doors and door jams. If you are going to vacuum your interior, remove your rugs during this step to be efficient. If you have rubber or hard mats, give them a rinse and scrub with your brush. Do not use any dressings on your mat if you wipe them dry.
Step 9: Clean and Protect the Interior
A complete detail isn’t finished without refreshing the cabin. Vacuum carpets, wipe down surfaces with an interior cleaner, and protect vinyl or leather with UV-blocking conditioners. Finish by cleaning interior glass with a dedicated glass cleaner and microfiber towel for perfect visibility.
Step 10: Clean the Glass
Finally, use a dedicated glass cleaner and a clean microfiber towel to achieve streak-free clarity on all windows, mirrors, and lights. This last step not only improves visibility but gives your detail a perfect, showroom-ready finish.
Step 11: Inspect Your Work
Walk around the vehicle in good lighting to check for streaks, water spots, or missed areas. Touch up any imperfections with a clean microfiber towel and quick detail spray.
This step ensures your work meets professional standards and keeps your vehicle looking showroom-ready.
Keeping your vehicle clean isn’t just about looks — it’s about protection, longevity, and pride of ownership. By hand-washing your car the right way, you prevent scratches, preserve your paint, and make every drive feel brand new.
Want more expert detailing guides like this? Subscribe to our newsletter or follow us on social media for care tips, vehicle highlights, and behind-the-scenes looks at our work.